![Artboard-1.png]](https://support.wordoflifeseries.org/hs-fs/hubfs/Artboard-1.png?width=70&height=70&name=Artboard-1.png)
Word of Life Portal Administrator Onboarding Overview
As the Word of Life administrator for your school or parish, you will receive an email invitation from support@wordoflifeseries.org inviting you to set up your portal account.
Administrators can invite more users as portal administrators to help manage a school or parish.
Administrators are responsible for setting up Word of Life classrooms and inviting teachers/catechists for the upcoming academic year.
Administrators or Teachers/Catechists can invite parents, and for schools, invite students students, to classes.
Step 1: Accept Invitation and Register Word of Life Portal Account
Step 2: Add More Administrators
Step 3: Set Up Classrooms
Step 4: Invite Teachers/Catechists
Step 5: Add Parents to Classes
Looking for directions in Spanish? Instrucciones en español encontradas aquí
Step 1: Accept Invitation and Register Word of Life Portal Account
- Administrators using Word of Life will receive an email invitation from our Support Team (support@wordoflifeseries.org)
- Accept the invitation by clicking the Register Admin Account button in the email invite.
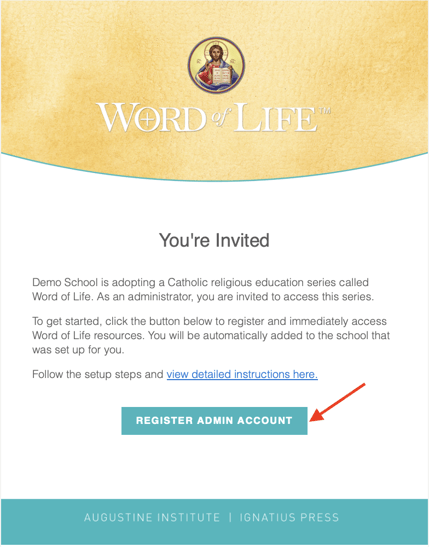
- You will be taken to the registration flow with your email address pre-populated.
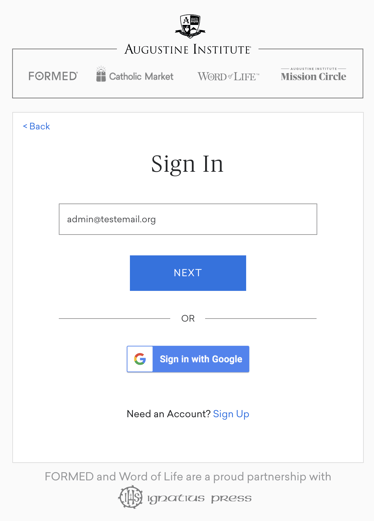
- Click Next and follow the prompts to enter your name and finalize account set up.
Step 2: Add More Administrators
- From the Administrator Portal, click on Set Up Classrooms.
- Then, click on Add Administrators.

- There are two options to invite users to your portal:
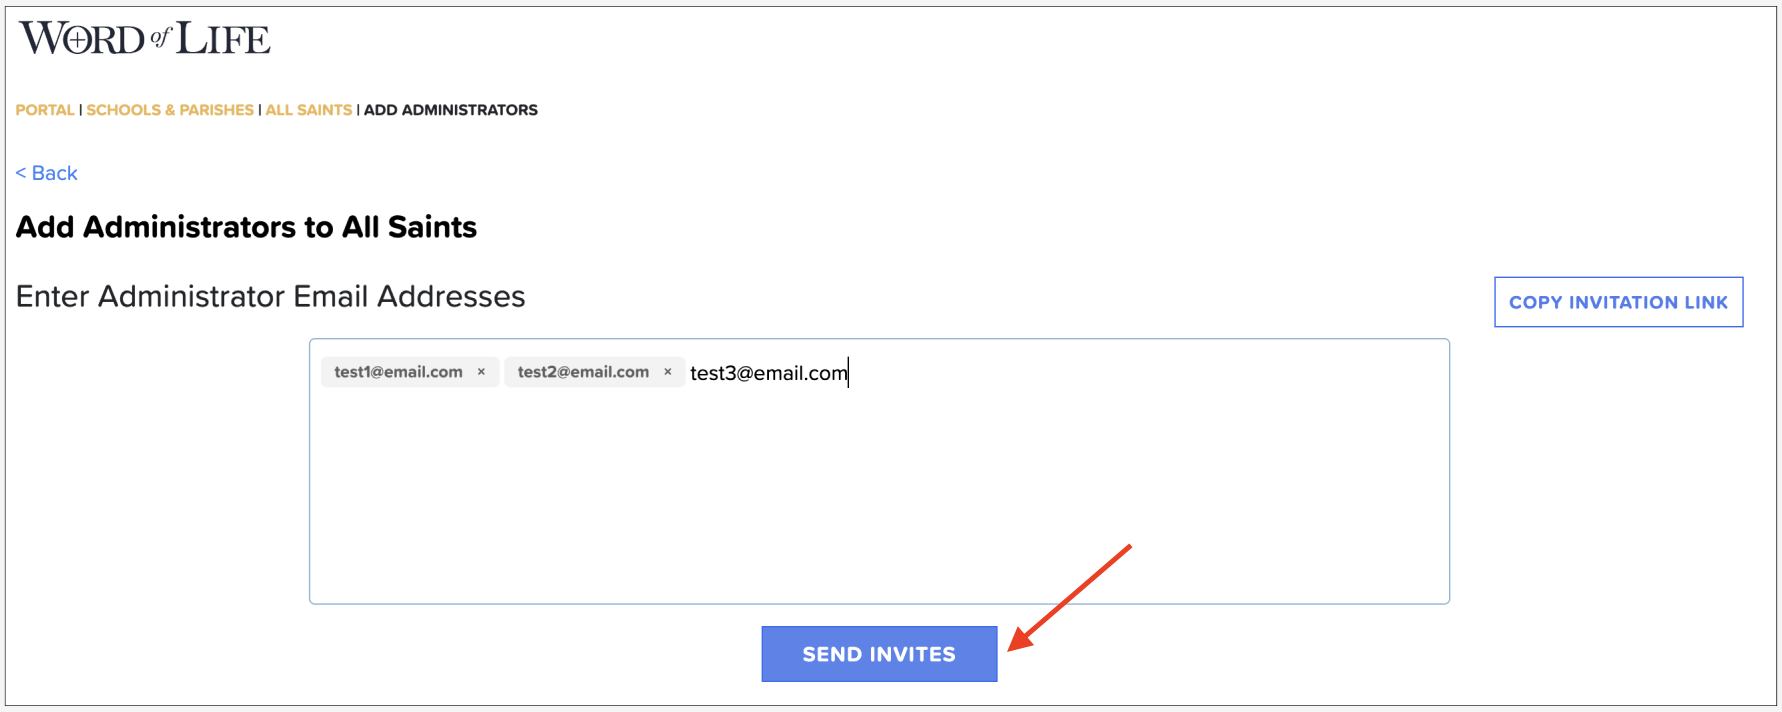
- Option 1: Send and monitor email invites and acceptance through the portal.
- Enter multiple email addresses separated by a comma. For example: testadmin1@email.com, testadmin2@email.com, etc.
- You do not need to enter the names of the users. The invite recipients are required to provide their first and last name upon registration.

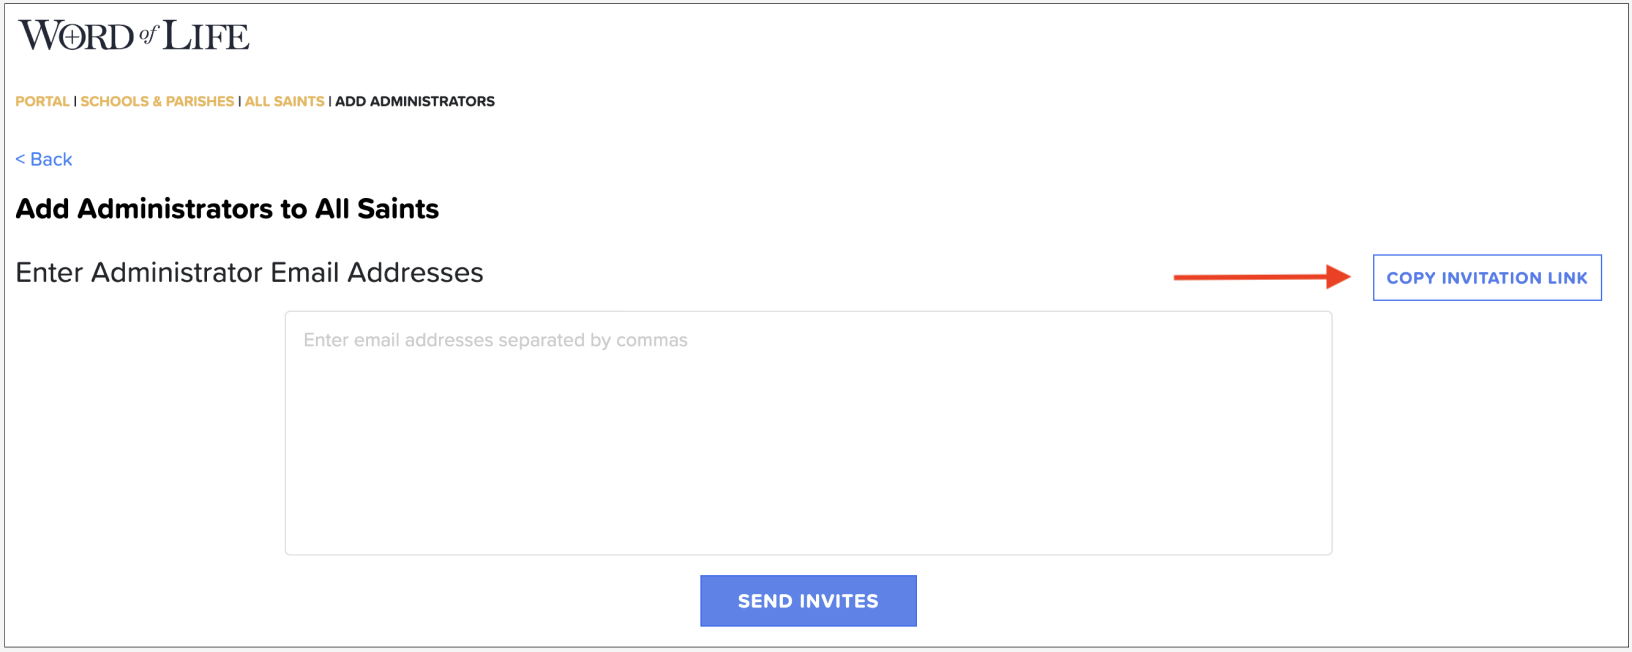
- Option 2: Copy the invitation link and send the invite via your own email account.

- It is best practice to communicate to your invitees to look for their portal invitation from support@wordoflifeseries.org, and share instructions for account set up with them.
Step 3: Set Up Classrooms
- Portal Administrators have the responsibility of setting up classes for your parish or school program.
- From the Administrator Portal, click on Set Up Classrooms.
- Click on the Add Classes button.

- Choose a name for the classroom and make a selection for the grade level. Please note the class name will be visible for all teachers, catechists and parents.
- You have the ability to edit the class name any time using the pencil icon on the right. Though the class can be renamed, the grade level cannot be changed.

- To add more classrooms, fill in another row and click the Add Classes button.
Step 4: Invite Teachers/Catechists
- Teachers will gain access to classroom resources and tracking capabilities once invited to the portal.
- From the Administrator Portal, click on Set Up Classrooms.
- Click on the Add Teacher/Catechist link corresponding to the class you are assigning them to.

- From here, the process is the same as adding administrators. Simply enter the email address of a teacher/catechist you would like to add to a class, or copy the invite link and send your own emails.
- Note: For teachers/catechists in charge of multiple classes or grade levels, you can invite them to each classroom. They will need to accept multiple invitations. This will ensure they have access to all teaching materials and student tracking for each of their classes.
- It is best practice to communicate to your invitees to look for their portal invitation from support@wordoflifeseries.org, and share instructions for account set up with them.
Step 5: Add Parents/Students to Classes
- Administrators and teachers/catechists have permissions to invite parents and/or students. Parishes can invite parents only. Schools can invite parents and students, as long as students have a school email address.
- This process is optional but encouraged; parent engagement on the portal can open opportunities to engage families in the faith. Each school and parish should discern what will work best for your program and community.
- From the main page of the Administrator or Teacher/Catechist Portal, click on Set Up Classrooms.
- Click on the class name.
- Click the Add Parents button.


- There are two options to invite parents to the portal:
- Option 1: Send and monitor email invites and acceptance through the Admin portal.
- Enter multiple email addresses separated by a comma. For example: testadmin1@email.com, testadmin2@email.com, etc.
- You do not need to enter the names of the users. The invite recipients are required to provide their first and last name upon registration.
- Option 2: Copy the invitation link and send the invite via your own email account. This link is specific to each classroom and role (parent portal vs. teacher portal). Be sure you keep links organized for multiple classrooms.
- Some parishes and schools have had success turning the invitation link into a QR code for each classroom. Directions for QR codes are found here.
- Some parishes and schools have had success turning the invitation link into a QR code for each classroom. Directions for QR codes are found here.
- It is best practice to communicate to your invitees to look for their portal invitation from support@wordoflifeseries.org, and share instructions for account set up with them.